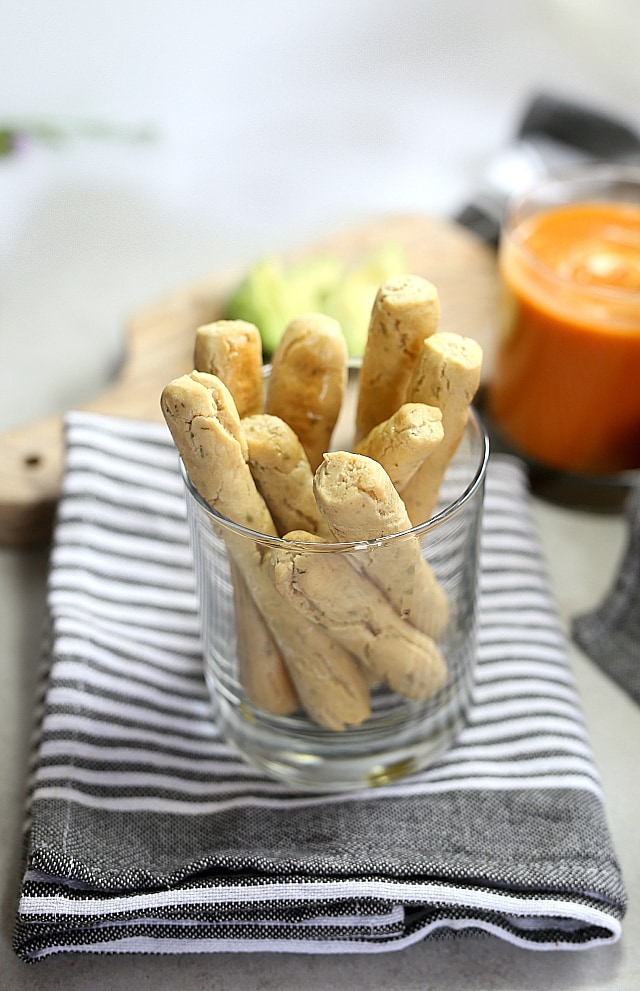
Crunchy and satisfying gluten free breadsticks recipe that is low in carbs and bold in flavor! Savory herbs make each bread stick perfect for dipping in soups and healthy dips!

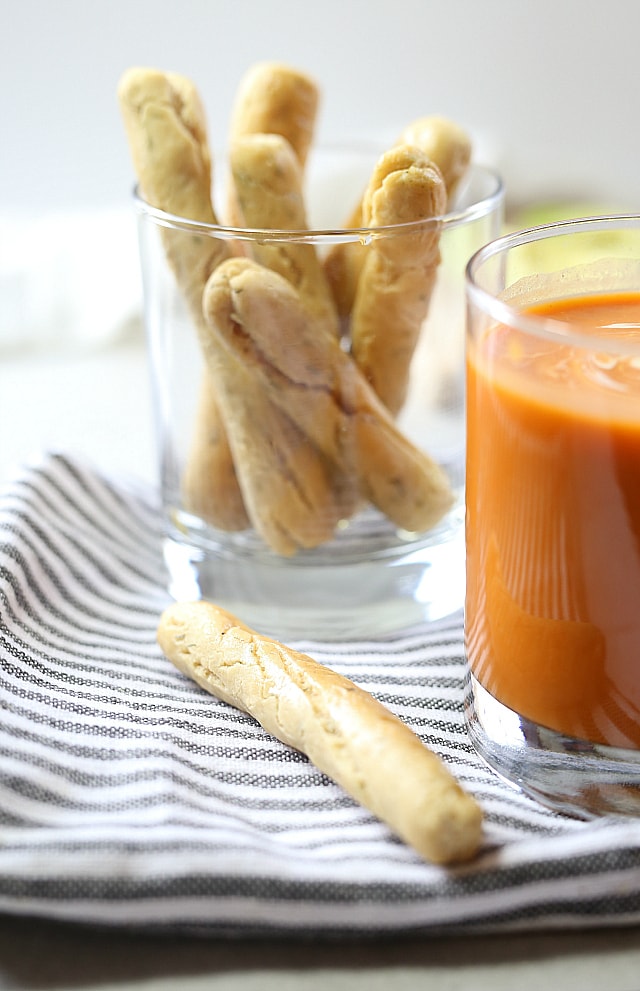
Make these bread sticks mini! This will literally save you so many calories in the long-run and trick your brain to thinking you are eating more. I love mini foods! Mini muffins, mini bread loafs, mini pretzels, mini meals and these mini gluten free breadsticks, which are great dipped in my homemade and easy marinara sauce.
I follow a general rule of thumb when eating breads. If you crave it eat it, just in moderation. Whenever we go out to eat the free bread served before the meal is always a yes! Unless you are on a gluten free diet or have candida... but would it be ok to bring these to the restaurant? They are tiny enough to fit into your little purse, right? Haha, just kidding, do not do that. Because you'll probably eat the whole batch right when they come out of the oven.
Growing up, every Sunday after church we would go out to eat with my grandparents. It was our once a week outing our whole family looked forward to. Our favorite places were the Country Club, Red Lobster or Olive Garden. I know what your thinking.... why not just the country club every week?! Um that was (pricey) and way to fancy for my mom to take three kids too every week. But our other favorites were Red Lobster and Olive Garden for their famously delicious .... you guessed it, breadsticks and cheese rolls! Ya know, those endless pits of baskets filled to the brim with cheese rolls and the buttery long fluffy breadsticks? Those baskets just would not stop filling up!
Now a-days, I am way to health conscious to even think of eating that. I love to make my own breads at home. These breadsticks are a bit crispy in texture and perfect for dipping into soups or scooping hummus. I even made another batch of the dough and left out the herbs to form and bake them into pretzel shapes.
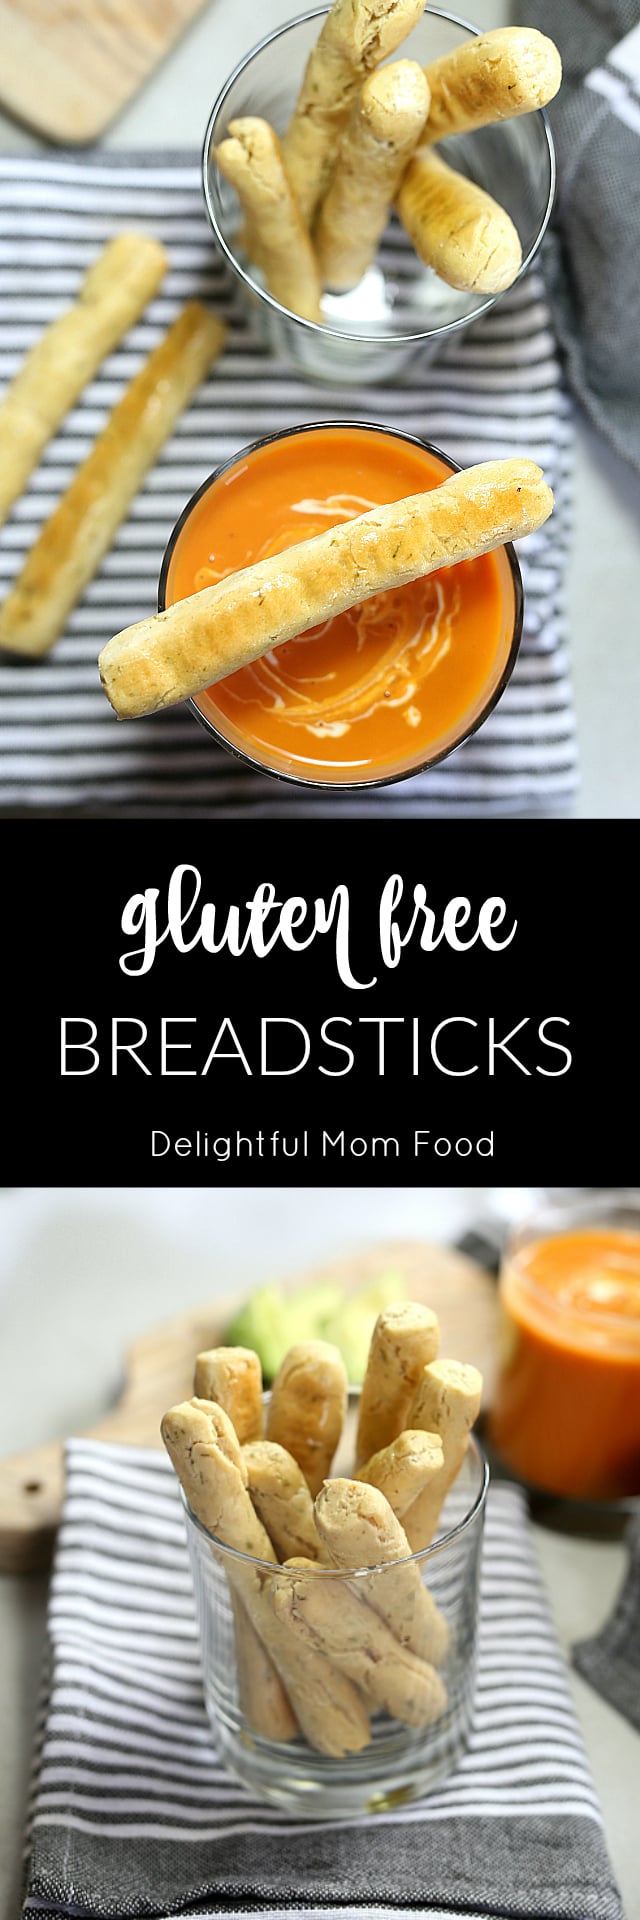
Making homemade gluten free breadsticks you can control all the fabulous natural ingredients that go into your body!
No fillers, no hydrogenated oils, no artery clogging stuff in these gluten free breadsticks! And they are super easy to make!
Make sure your warm water mixture over the stove-top is about 170 degrees F. If the water is too cool it can cause the bread not to rise. If the water is too hot it will kill off the rising agents and that may cause the bread not to rise.
First combine the yeast with the warm water and allow the ingredients to rise for about 5 minutes. Then add the rest of the wet ingredients and the dry ingredients in a separate bowl. Once they are mixed in their own bowls, combine all the ingredients together. Now here comes the fun part (not really). Put on a show or play an awesome song and knead that dough for 6-8 minutes until its perfectly blended. This gets the air out and gives it an elastic formation.
Bake those beauties! At first the tops may appear white from the tapioca flour. What I like to do (and for lower calories than butter) is spray the breadsticks with olive oil spray. It adds a beautiful color and slight amount of healthy oil.
📖 Recipe
Gluten Free Breadsticks Recipe
Ingredients
- 1 ¾ cup gluten free flour mix
- ½ cup tapioca flour
- ½ cup lukewarm water
- 1 package of dry yeast
- ½ cup non-fat Greek yogurt or dairy-free yogurt
- 1 tablespoon olive oil or avocado oil
- 1 tablespoon coconut sugar
- ½ teaspoon onion powder
- 1 teaspoon Himalayan salt
- 1 egg large
- 1 teaspoon tarragon dry (or oregano)
- 1 teaspoon dill dry (or basil)
Instructions
- Prepare a baking pan by lining it with parchment paper then set aside.
- Combine yeast with 1 cup lukewarm water. Let set 5 minutes to activate it. After 5 minutes add the egg, yogurt, sugar, herbs, olive oil, and onion powder. Whisk together to combine.
- In a large bowl, combine gluten-free flour, tapioca flour and salt.
- Add the wet mixture to the dry mixture and blend to form a dough. Knead the dough for about 6-8 minutes then cover it with plastic wrap or a bread cloth and let it set in a warm place for about 45 minutes.
- Preheat oven 350 degrees F.
- Section the dough into 24 balls. Roll each ball into 5 inch x 1 inch strips. Let set 25 minutes before baking. Bake for 20 minutes. Remove from the pan to wire racks to cool.
Nutrition
PIN IT!

Annette says
Can these be frozen?
Danielle | Delightful Mom Food says
Yes. I suggest baking them first, then seal them in a freezer bag with the air removed for up to 3 months.