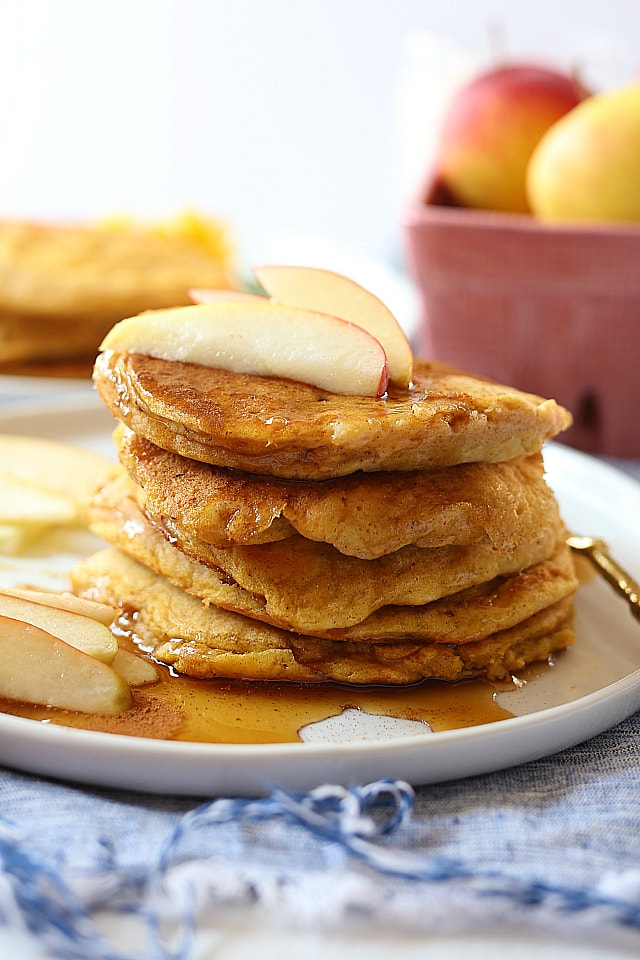
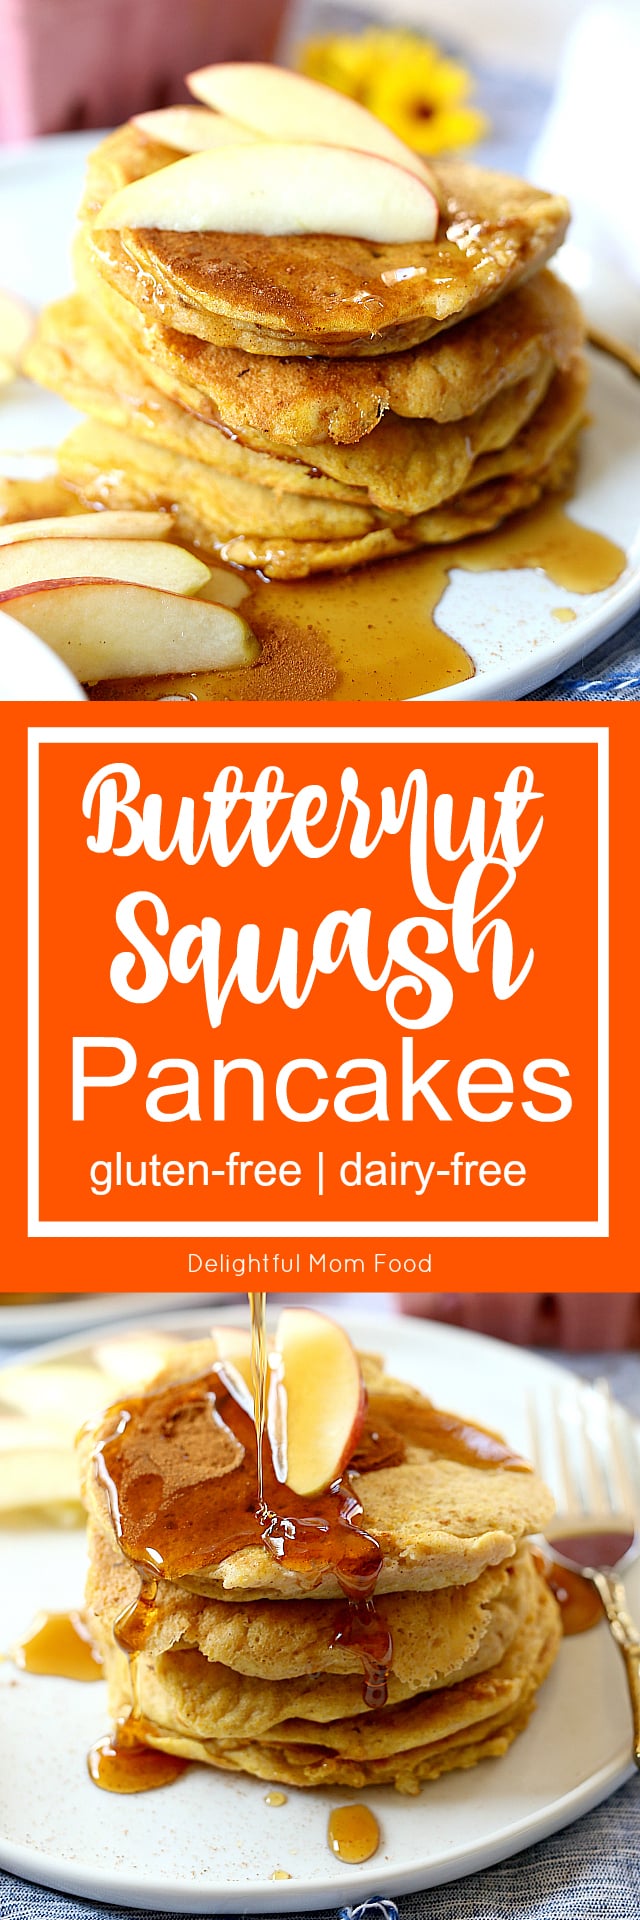
Butternut squash pancakes made with mashed butternut squash (Cucurbita moschata) blended with gluten free flours, egg and dairy-free milk! So easy and healthy for a quick breakfast or healthy snack!
Butternut squash is one of my favorite squashes to work with when cooking and baking! It is a powerful way to get vitamin A, vitamin E and extra fiber in your diet not to mention it mashes up and makes baked goods super moist! Plus it is naturally sweet, buttery, nutty and has a flavor that is delicious roasted topped with cinnamon or butter!
Even better, if you want to skip cooking butternut squash yourself, you can use a 15 ounce can in this recipe. Eitherway is delicious but I must say it is naturally more sweet with fresh roasted butternut squash as opposed to the canned version.
If using a fresh squash, this deliciously naturally sweet Bell squash can be pureed and also used as a cream supplement in pasta sauces, as the base in butternut squash soup, roasted and chopped in salads, muffins, pancakes and more! It is actually a fruit but "used" as a vegetable.
The other morning Big C woke up craving pancakes and since the only other breakfast food around lately is oatmeal I figured I would spice up (literally) his life a bit! I just bought a squash and have been wanting to try a gluten-free butternut squash pancake recipes for ages! The batter is slightly thick but makes a super moist pancake and my boys just love them!
Usually, I prefer roasting my squash either cut in half first or placed in the oven to roast whole. Since it was a list minute quick pancake fix I microwave the butternut squash whole for about 10 minutes until it is soft in the center then let it cool slightly before cutting in half, scooping out the seeds and then separating the skin from the meat. A large squash may need to cook longer than 10 minutes. Just use a knife to poke the thickest part to see if it is soft and cooked through.
How to cook butternut squash
This was always a tough question to me when I first started experimenting with cooking. How long to cook certain foods? I hate overly cooked vegetables like zucchini squash, carrots, asparagus and broccoli. But spaghetti squash and butternut squash are hard to mess up.
You can use/eat the whole inside of butternut squash including the long neck (except the seeds). Once the squash is fully cooked and slightly cool enough to handle, slice it in half (if it is not already halved) and scoop out the seeds first. Once the seeds are removed scoop out the hearty orange meat of the vegetable and discard the skin.
A big dilemma I used to have was not knowing how long to cook foods like this! So here are few tips and tricks that I have learned that help me in the kitchen.
1. Roasted
Roasting butternut squash is my favorite way to cook spaghetti squash, acorn squash and butternut squash because it brings out a natural sweetness from the fruit (crazy it is a fruit, right?!). It makes them perfect for blending into sauces and baked goods. To roast, preheat the oven 400 degrees F. Slice the squash in half and toss in a bit of olive oil then place on a large baking sheet flesh side up. Roast for 50-60 minutes until it is soft when poked with a fork. Scoop out the seed before serving.
2. Microwave
Place squash on a microwaveable dish whole or halves and cook on high for 9-12 minutes (for halves) and about 12-15 minutes for whole until the large center is soft when poked with a knife. Remove and let it cool slightly until it is able to be handled then cut the squash in half (if it is not already) and remove the seeds with a spoon.
3. Grilling tips and time
Heat the grill on medium-high and lightly oil the grate to prevent the butternut squash from sticking. Slice the butternut squash into rounds and spray or brush all sides with olive oil. Heat for about 15-20 minutes continuously flipping to prevent burning.
4. Sauteed
Peel the squash, remove the seeds and dice into 1-inch squares. On medium-high heat add 1 tablespoon olive oil, stir in the squash cubes, a dash of salt and pepper. Cover and cook 8 to 10 minutes, stirring frequently and cooked until the squash is tender.
Now that you are equip with all the best ways to cook butternut squash you are ready to add them to these pancakes or ...anything! Right?
Or again- go with the can for convenience:-)
These gluten free butternut squash pancakes are easy, delicious, dairy-free, nut free and super healthy! Butternut squash pancakes are a good source of fiber, vitamin C, manganese, magnesium, and potassium; along with vitamin A and Vitamin E. A healthy pancake recipe that is a great source for breakfast, snacks, or add a favorite nut butter and jelly in the middle for school lunches! Let's grab a favorite nonstick nontoxic cookware and get started!
More healthy pancake recipes
- Gluten-Free Pancake Recipe
- Gluten-Free Pumpkin Pancakes
- Butternut Squash Pancakes
- Blender Banana Oat Pancakes
📖 Recipe
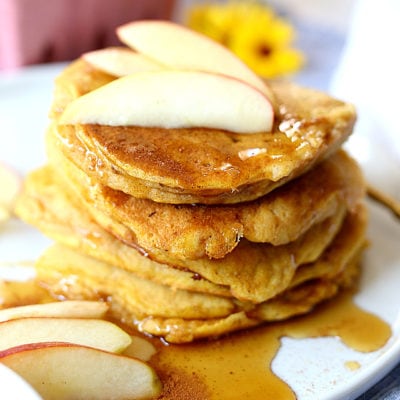
Butternut Squash Pancakes (Gluten-Free)
Ingredients
- 1 cup gluten free flour mix
- 2 teaspoons baking powder
- 1 teaspoon cinnamon
- pinch cardamom
- ¼ teaspoon ginger
- ¼ teaspoon pink Himalayan salt
- 1 teaspoon vanilla extract
- 1 teaspoon apple cider vinegar
- 1 tablespoon maple syrup
- 2 eggs
- 15 ounce can butternut squash puree or 1.5 cups fresh butternut squash, cooked and seeds and skin removed and smashed into puree
- ¾ cup almond milk or coconut milk
Instructions
- Heat a medium saucepan on the stove top on low-medium.
- In a large bowl combine the gluten free flour, baking powder, cinnamon, cardamom, ginger, and salt and mix well. In a blender or food processor add the milk, vinegar, maple syrup, vanilla extract, eggs and canned or home cooked butternut squash. Blend for about 10 seconds to combine then add the wet ingredients to the dry ingredients. Let the batter set for about 5 minutes before cooking.
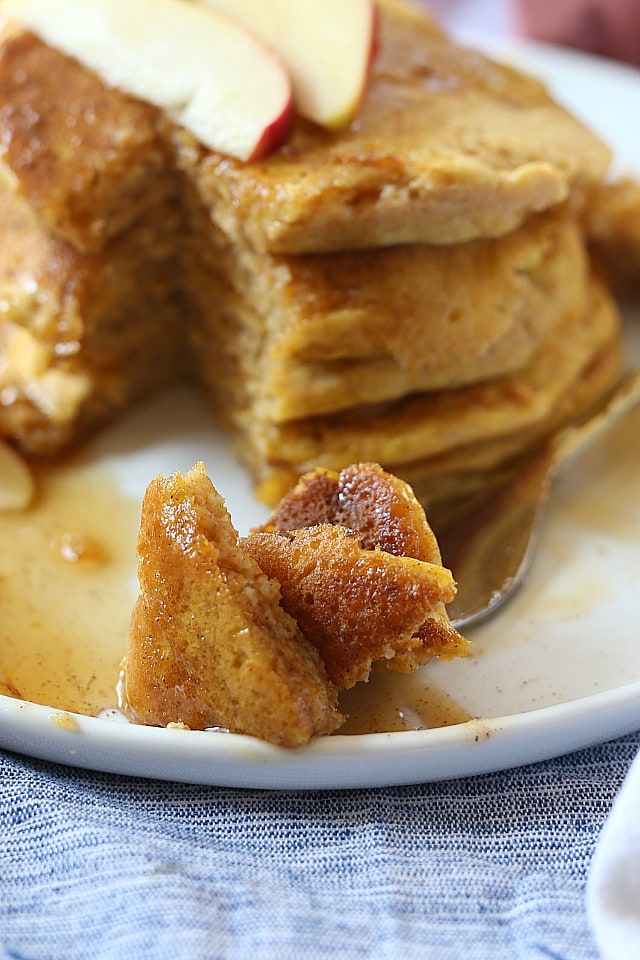
- Spray your skillet with cooking spray. Using a ¼ cup measuring cup, scoop pancake mixture onto stove top and spread into a circle. The batter will be very thick so pat it down with the back of the measuring cup to thin it out on the skillet. After about 3-5 minutes when your pancakes begin to set on top flip it and cook the bottom until it is golden brown (about 3 minutes).
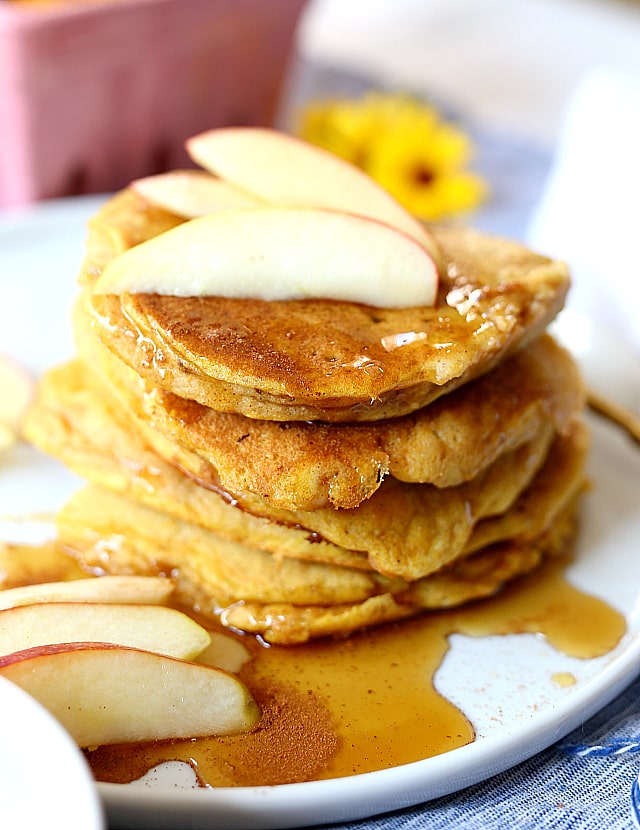
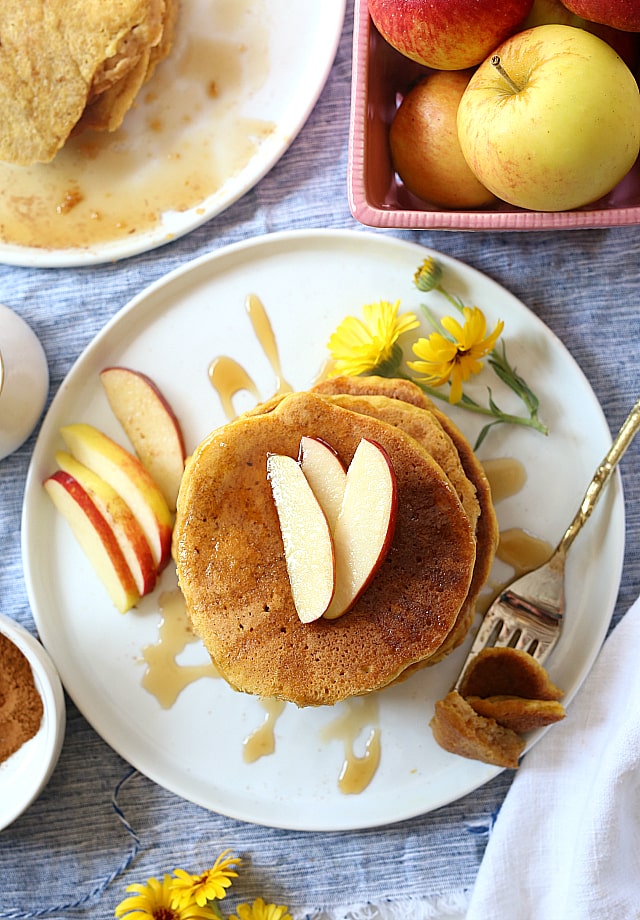
- Serve with maple syrup, fruit or nuts. Enjoy!


Matt Fenton says
Very good but I forgot the salt and it was a bit needed. When should it go in. I think it's missing in the steps
Danielle Fahrenkrug says
Add the salt with the other dry ingredients. Sorry about that and thank you for letting me know it was missing- I just added it in:-). I'm so glad you like this recipe, it is such a good one! If you need, just sprinkle some salt on the pancakes:-).
Heather Howard says
I loved these and my kids did too!!! No need for syrup and better flavor than traditional pancakes. Thank you for sharing Danielle!!
Danielle Fahrenkrug says
Hi Heather! You are very welcome and I am so glad you all enjoy these! xx